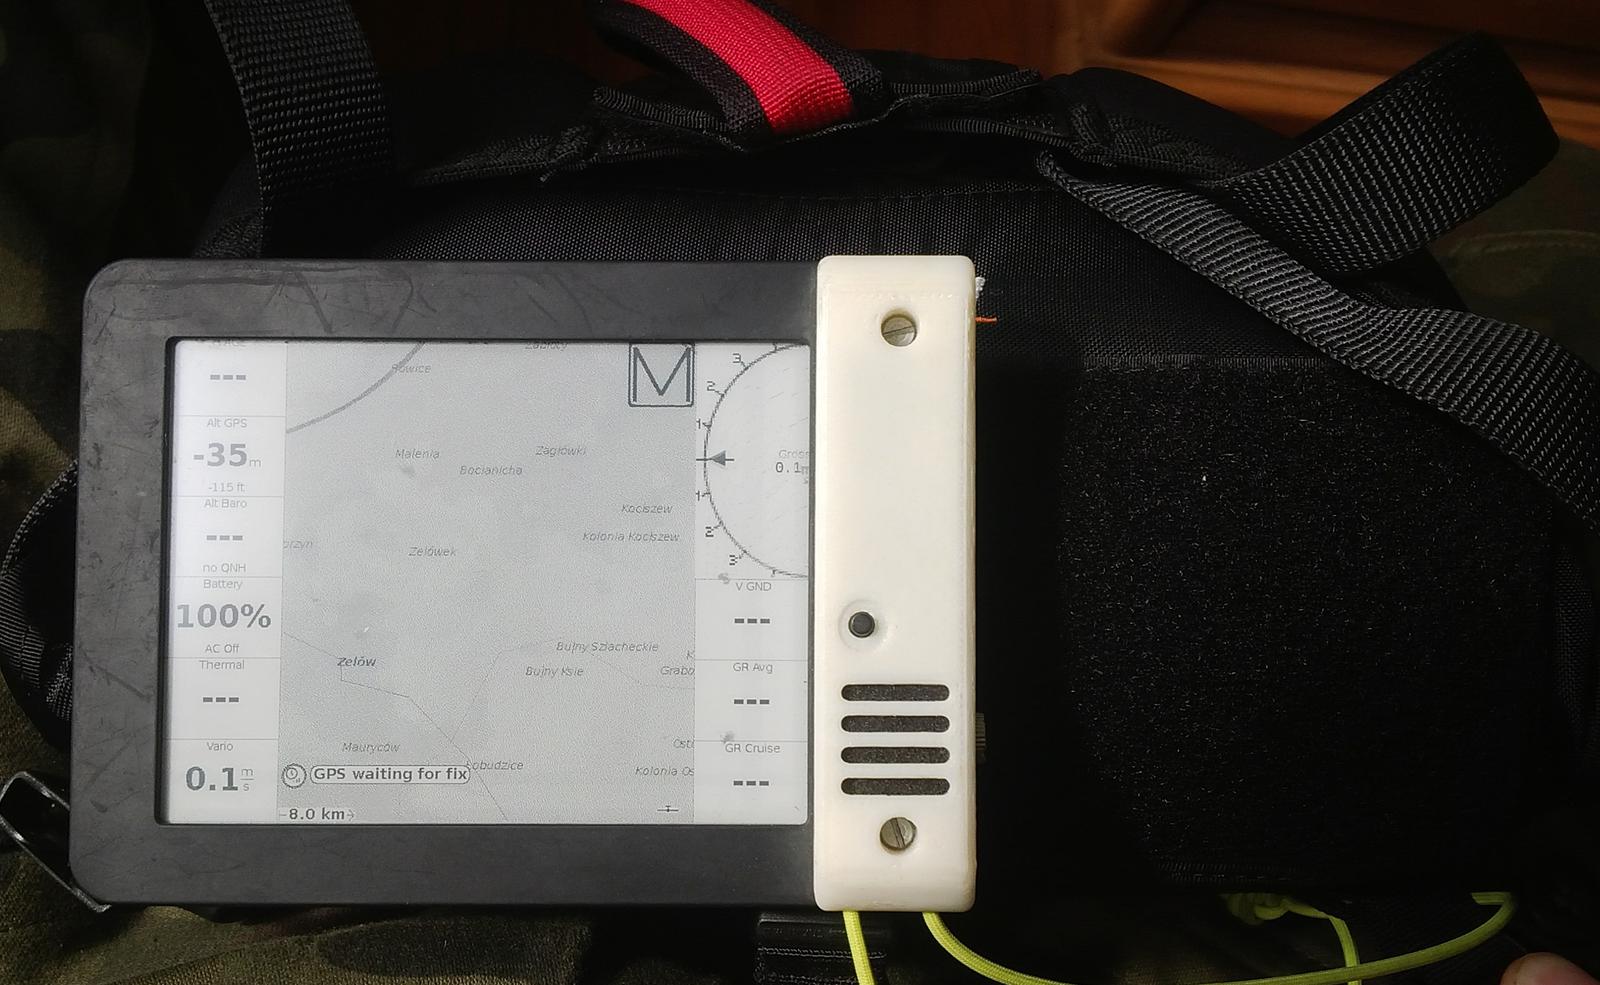
Cheap flight computer combining Kobo Mini and BlueFly Vario module

Vario- and altimeter is a must-have if you do free-flying. Even in paramotoring, it’s nice to have one. However, these devices can be quite expensive, so I decided to build my own by following this tutorial.
My device needs to meet the following requirements:
- It must be ruggedized to withstand vibrations, dirt, and oil.
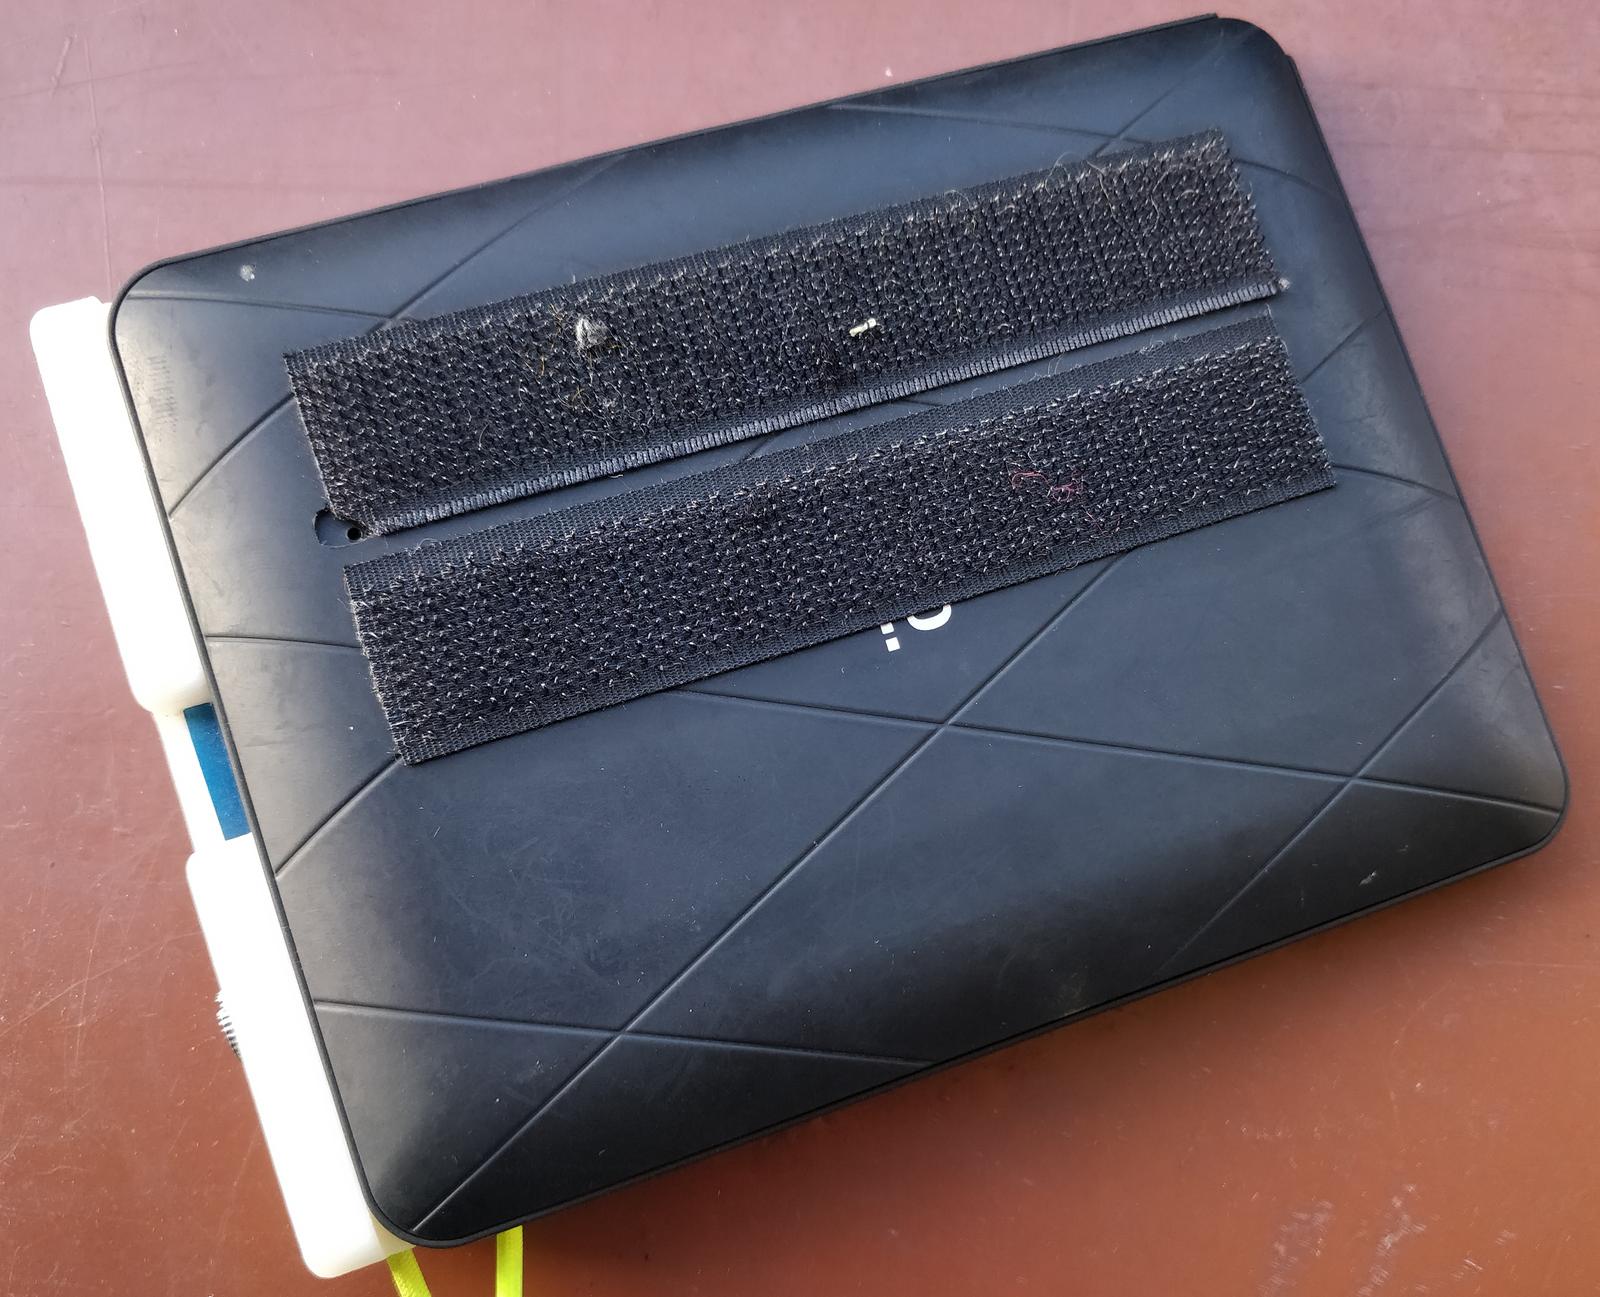
- It should be attached to the reserve front container using Velcro strips.
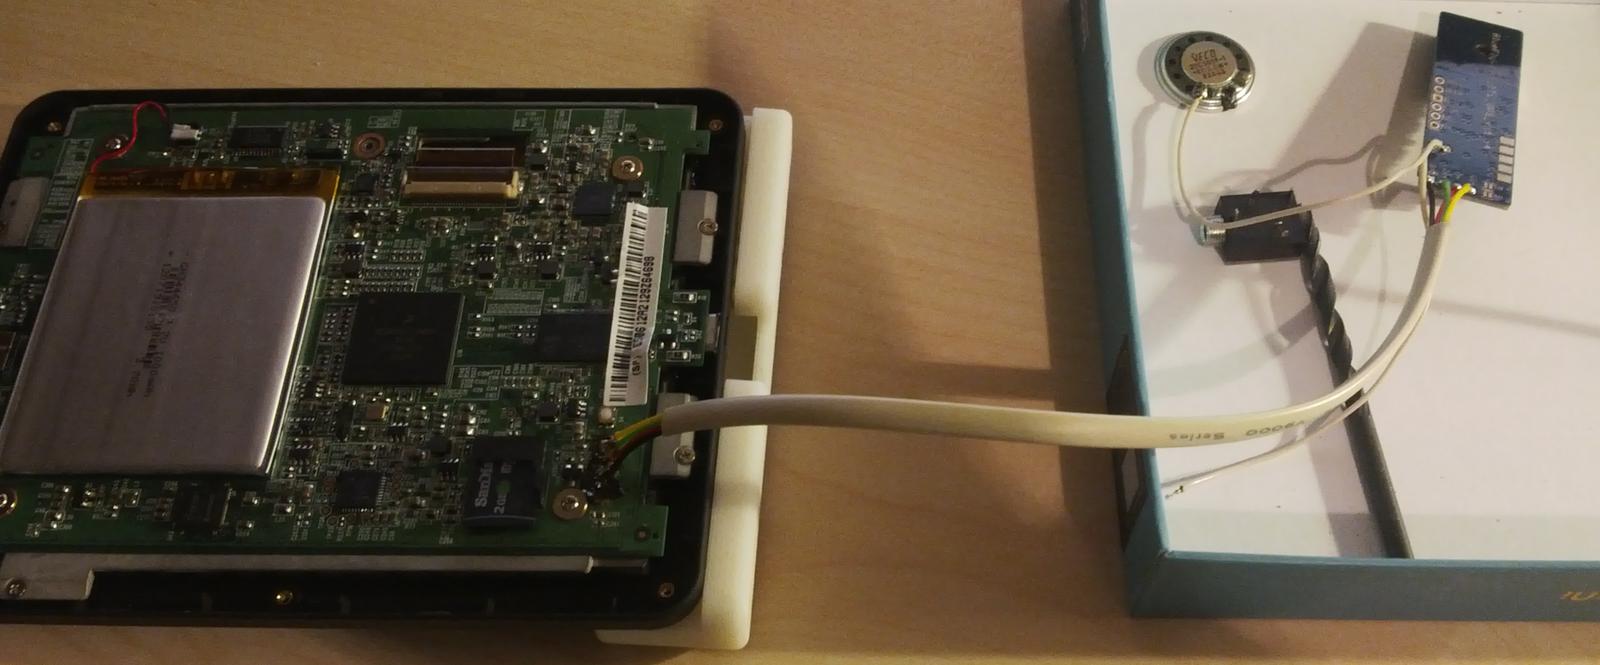
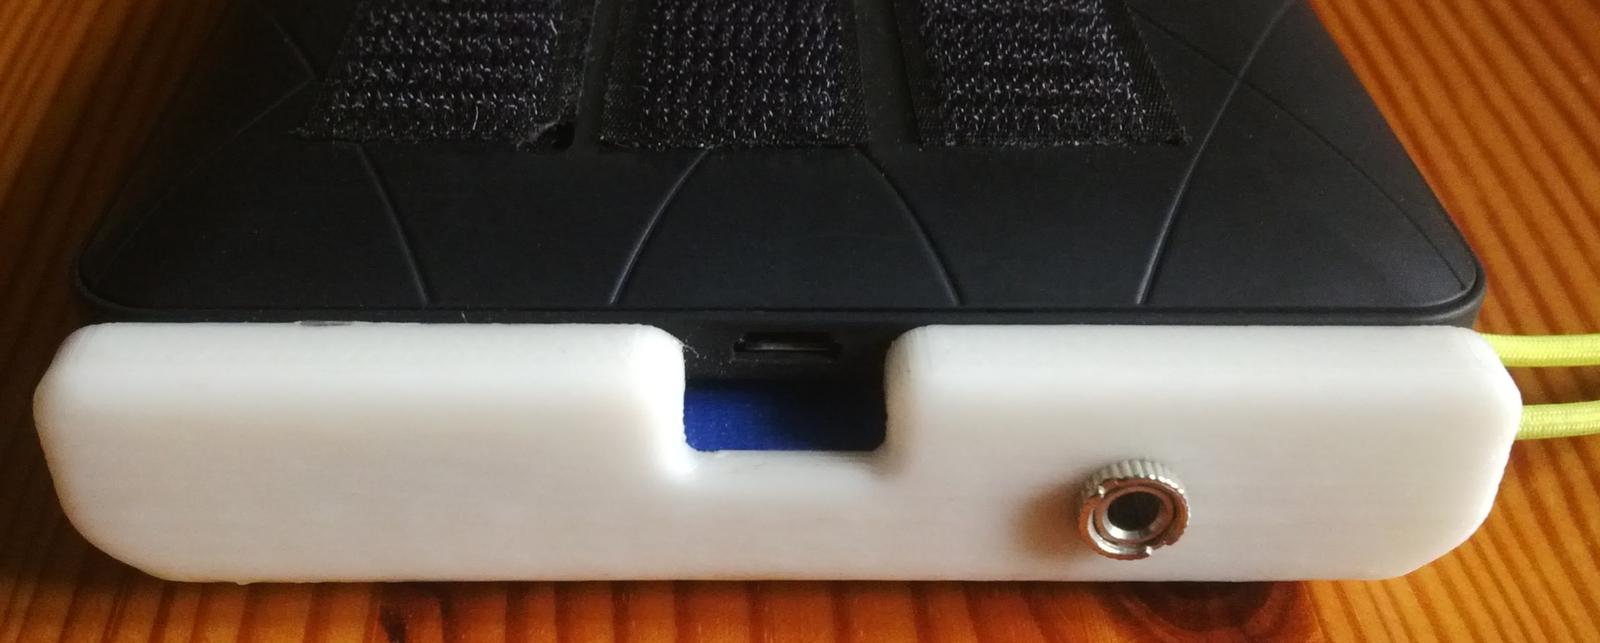
- It must have a headphone connection jack in order to connect to the helmet.
- A long battery life would be desirable, but it’s not critical since I tend to do rather short flights (less than 2 hours).
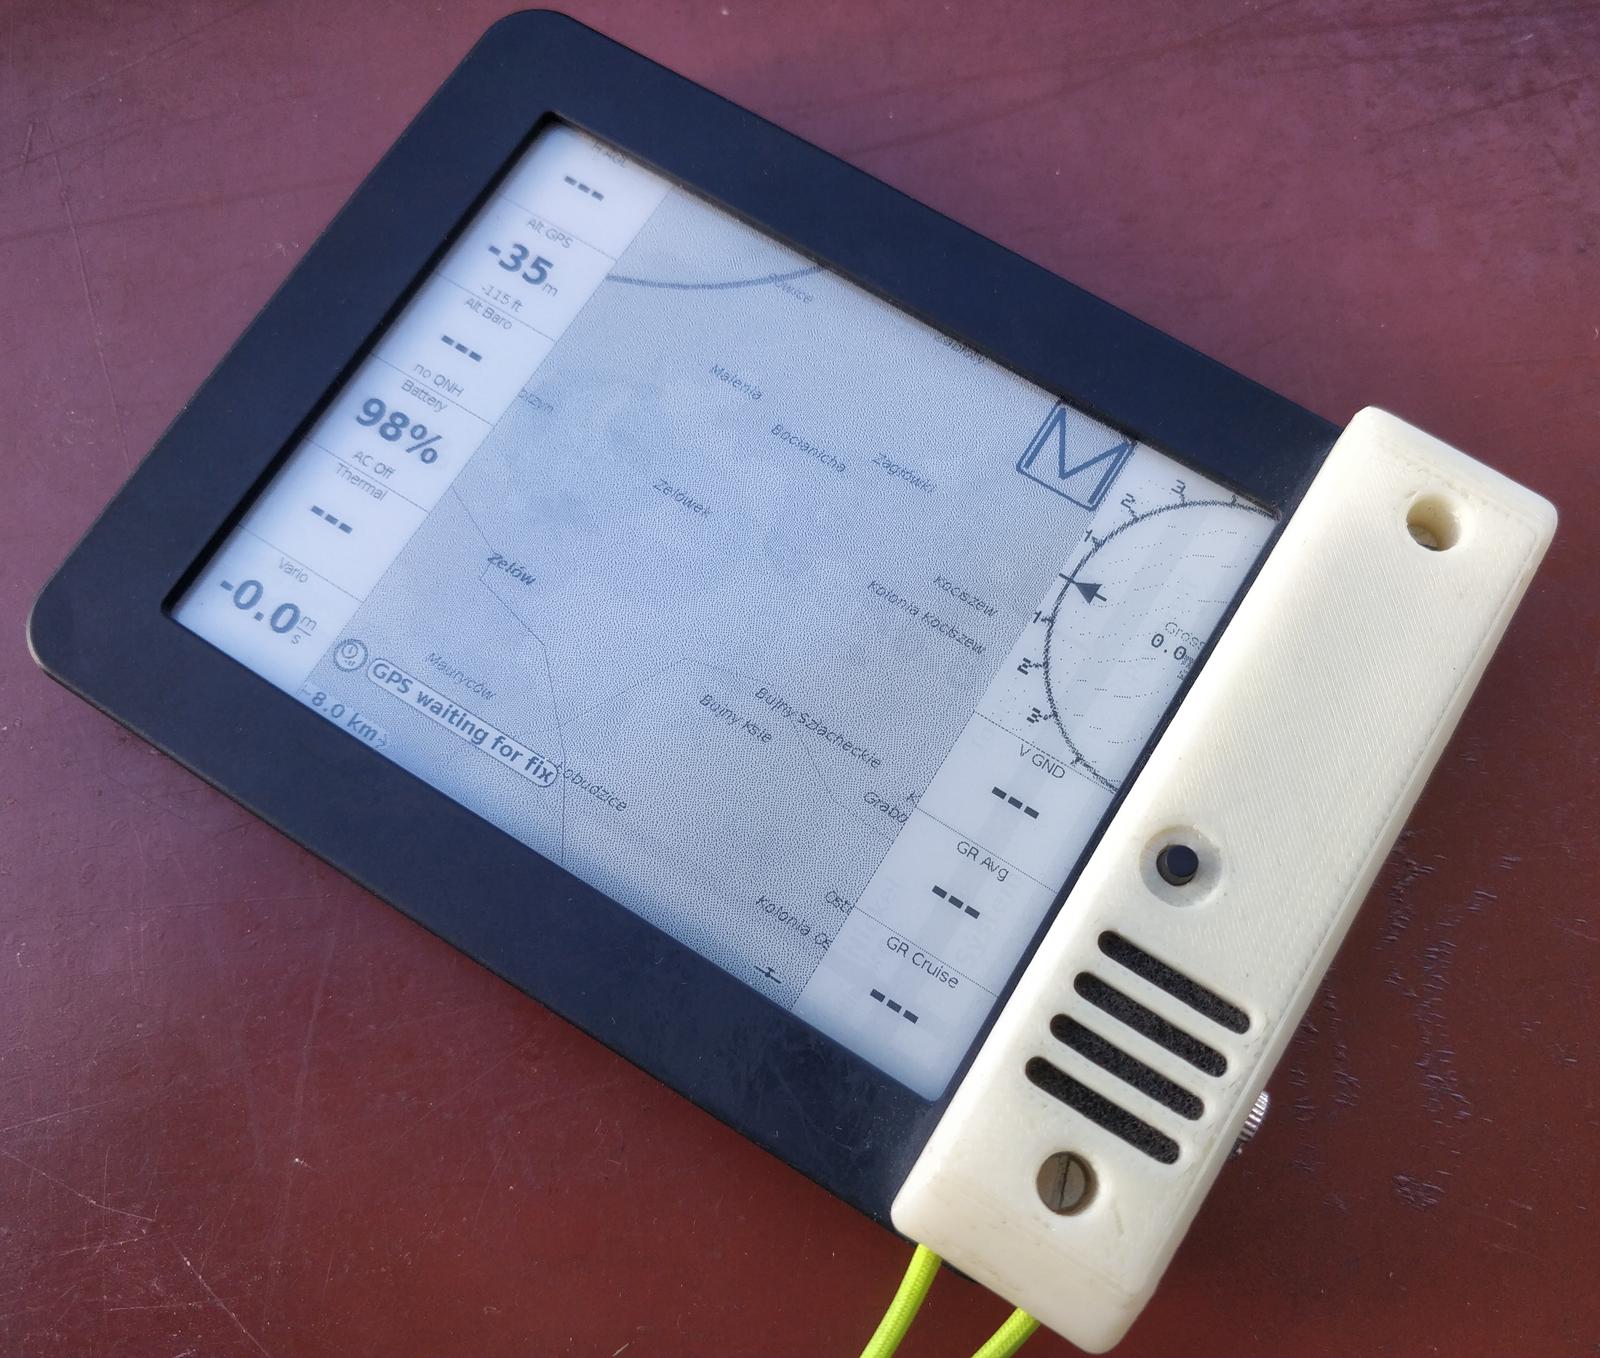
In addition to combining XCSoar, Kobo Mini and Blue Fly Vario, I designed a custom 3D-printed case for the module using FreeCad. This ensures that everything fits together nicely and securely. The project repository is on GitHub.

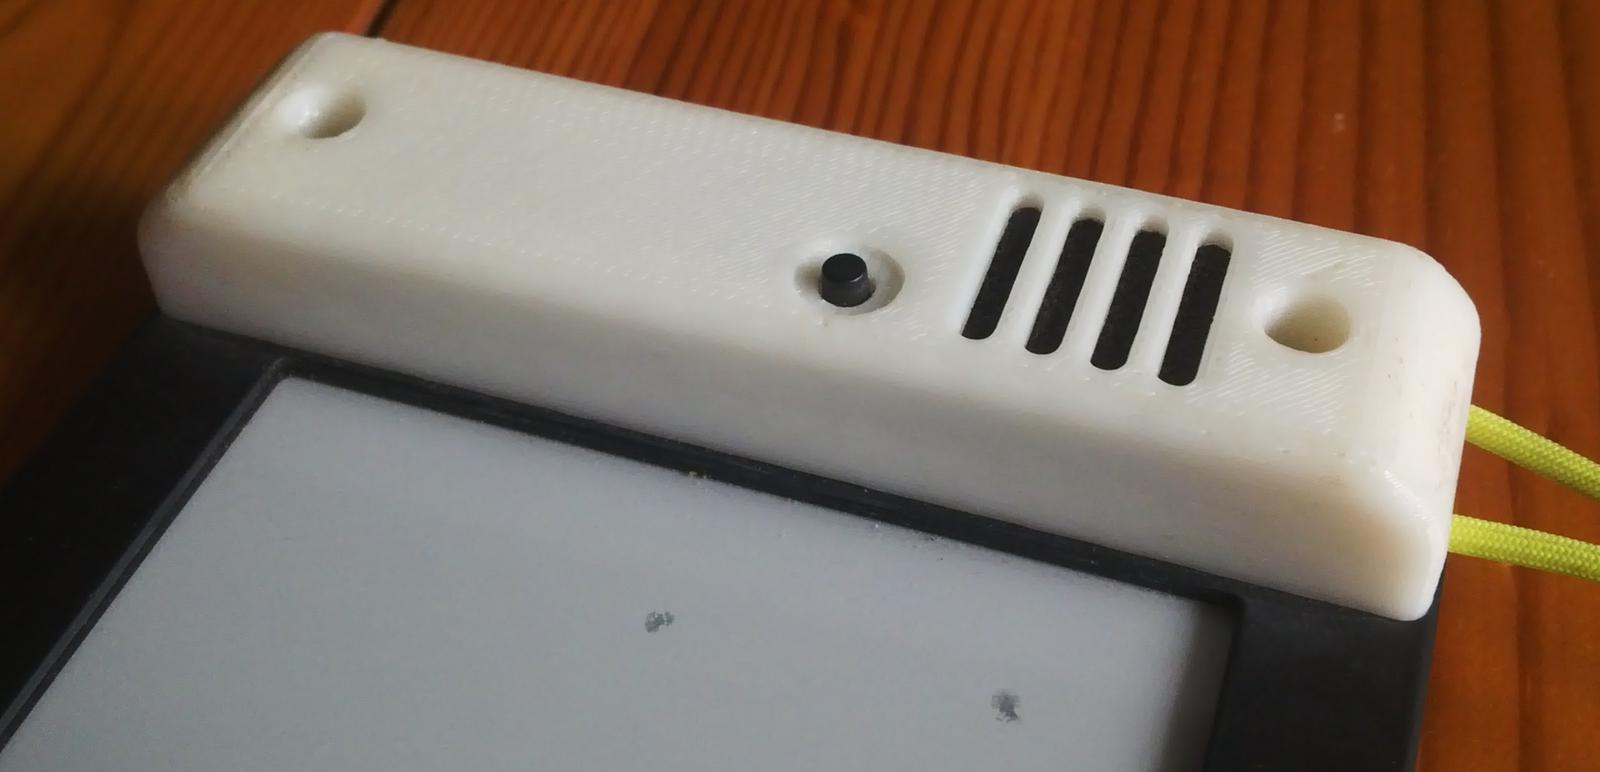
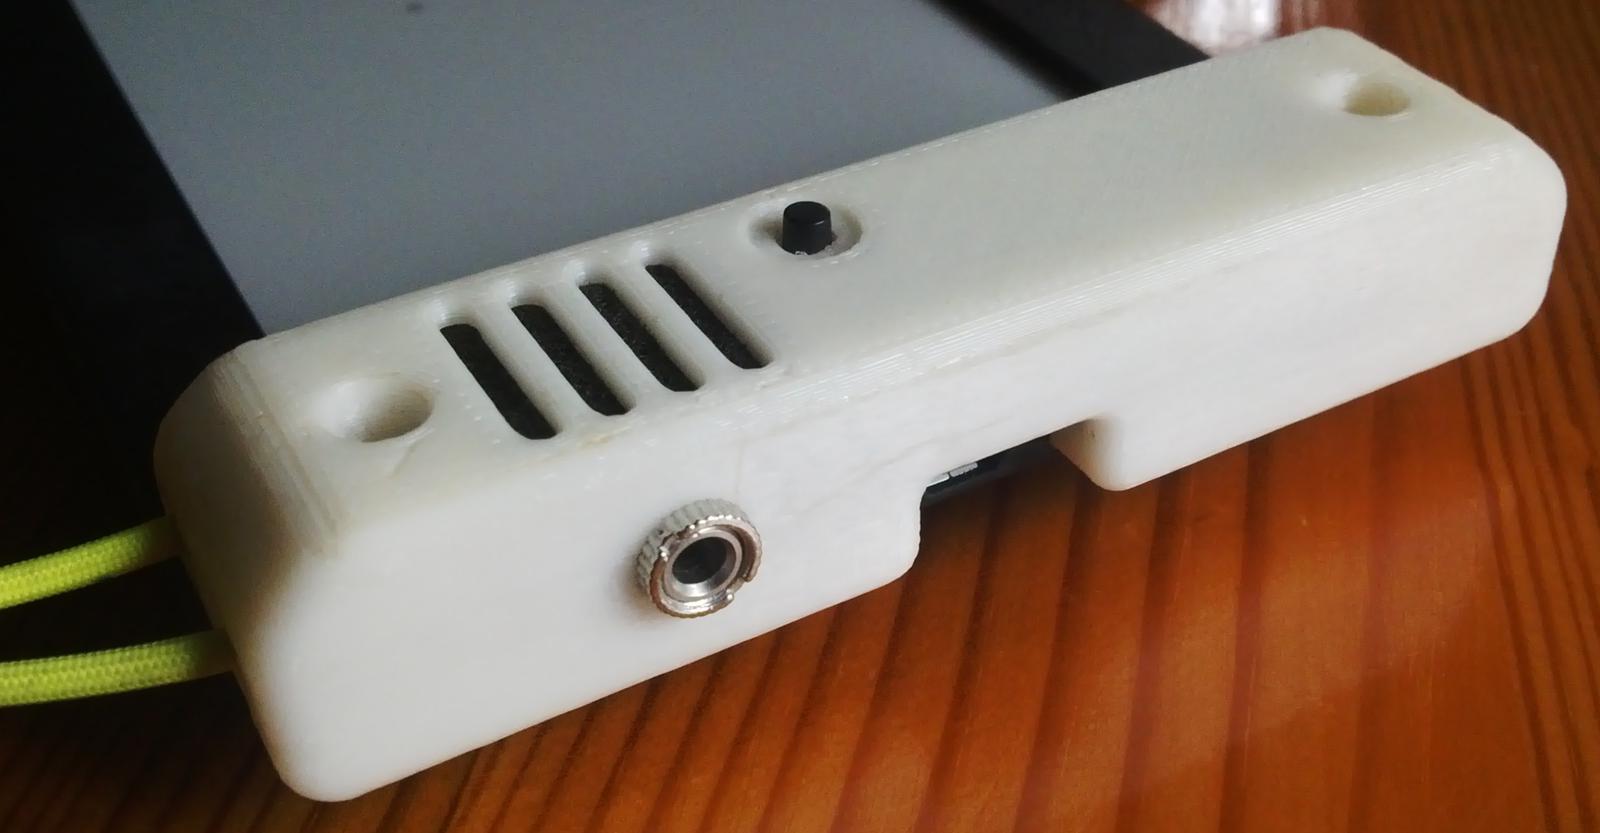
The case has holes to ensure that the beeps are clearly audible, even when I’m wearing noise-muffling headset. Nonetheless, I added a mini jack socket for the headset; speaker’s volume is adjustable programmatically. I glued strips of Velcro tape to the back of the Kobo so that I can easily attach it to the reserve compartment, as shown in the photo:
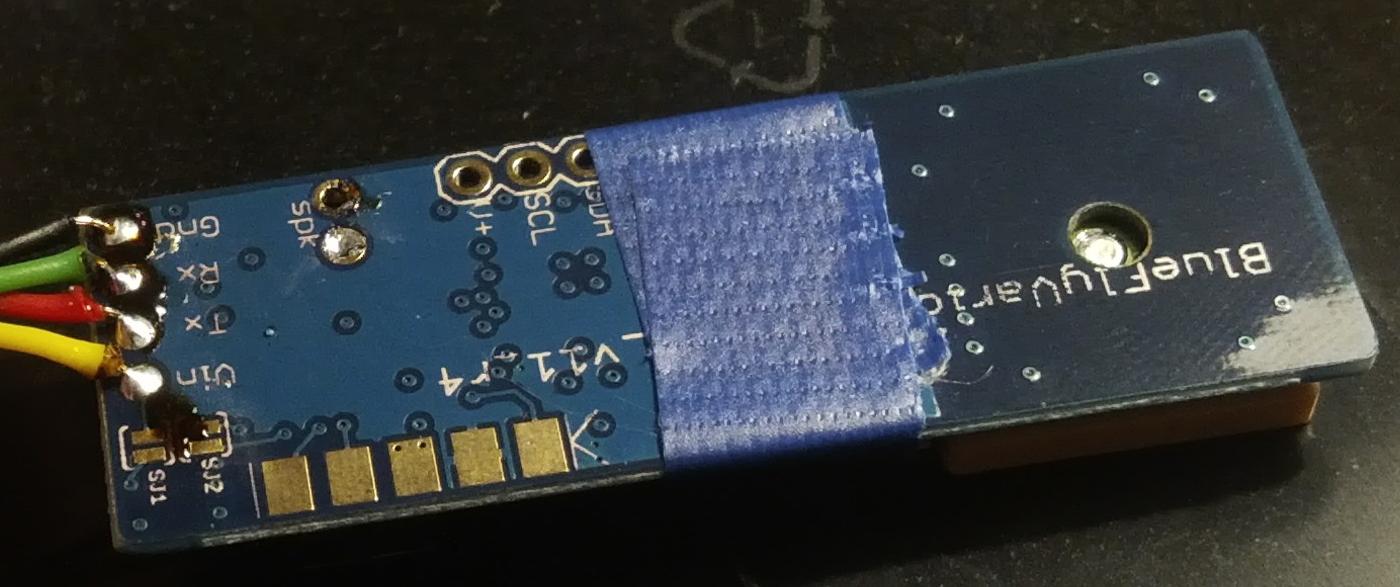
The pressure sensor on the module is secured with a piece of foam, as described in the manual. The case has holes for the speaker, which are covered with a piece of dark cloth. Additionally, a piece of rope is attached to the case to prevent the device from falling in the unlikely scenario of Velcro failure.

The case is attached to the Kobo using two M3 (3 mm) screws with nuts. To do this, you first need to place the case on the Kobo and mark the positions of the holes. The holes are positioned in such way that they don’t collide with electronics but be careful when drilling nonetheless. Additionally, I made a hole for the RESET button on the back of the Kobo because XCSoar had hung up several times.
Replacing broken Kobo Mini e-ink display
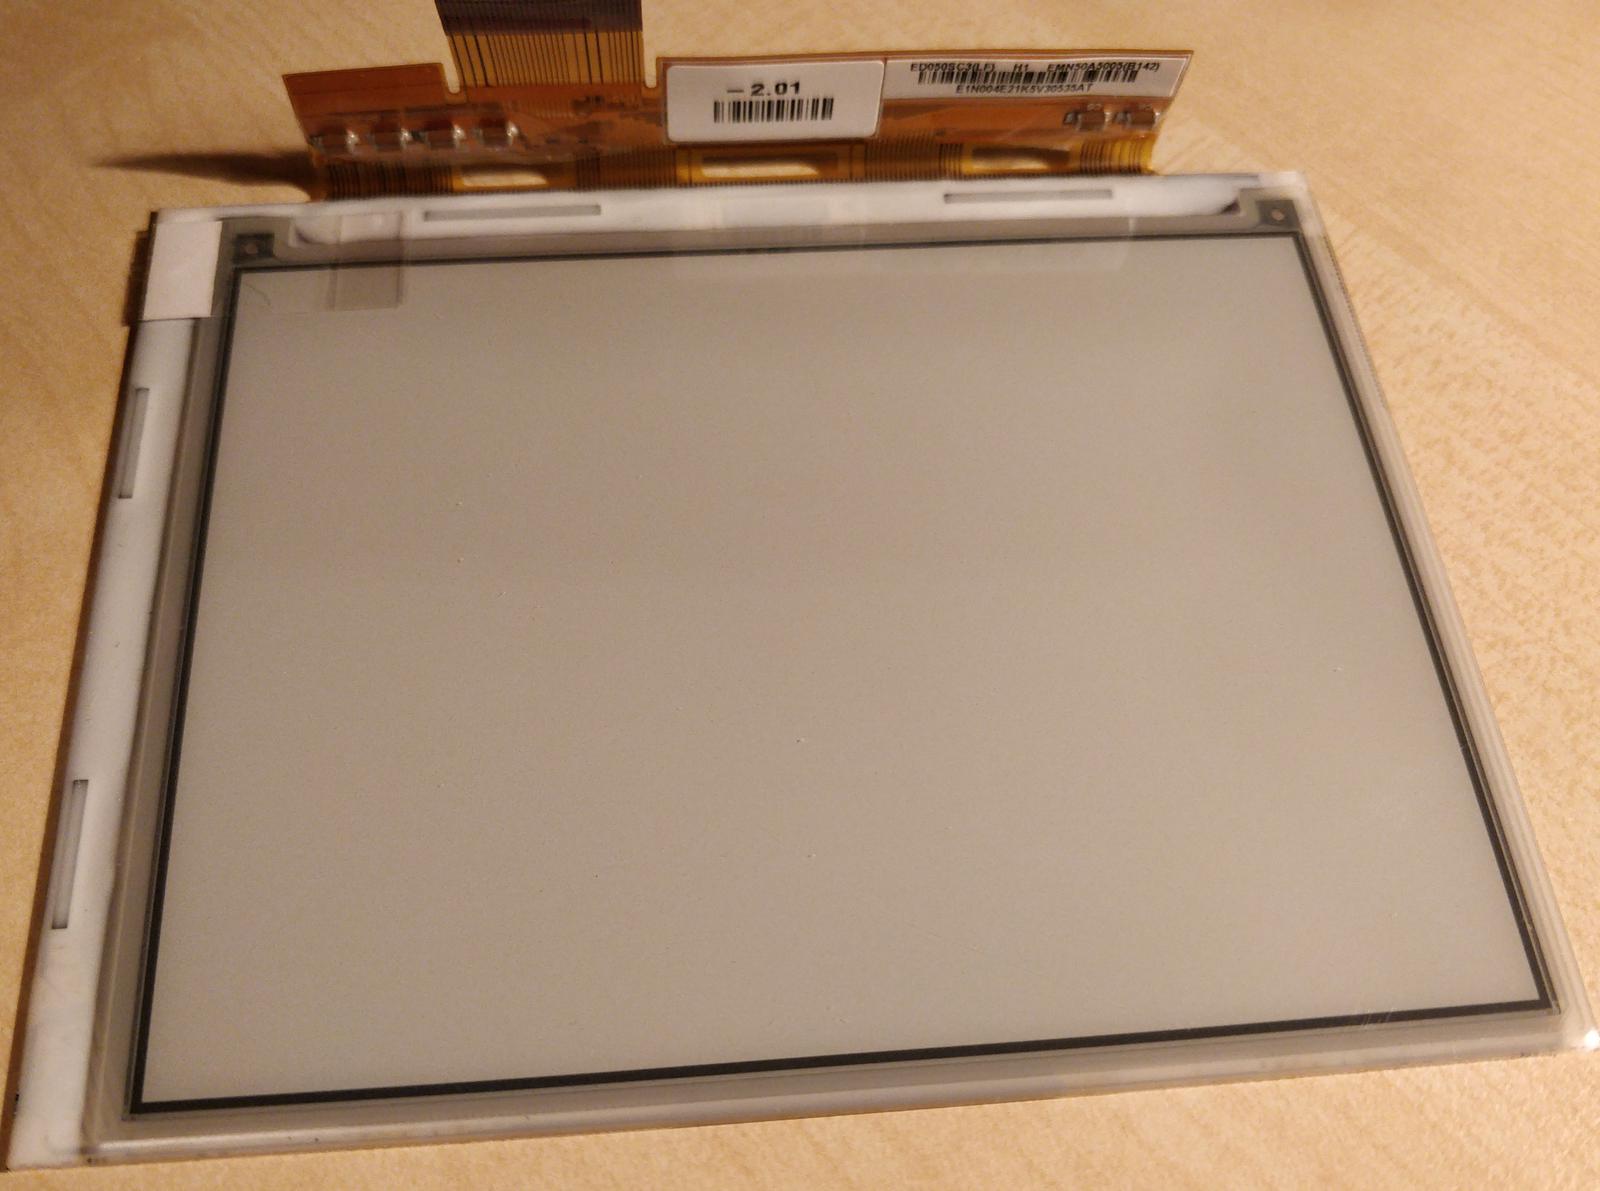
After a couple of months, the e-ink display in my Kobo got broken due to impact, resulting in black stripes littering half of the screen. I decided to replace it. To begin, I opened up the Kobo to make sure I ordered the appropriate replacement display.
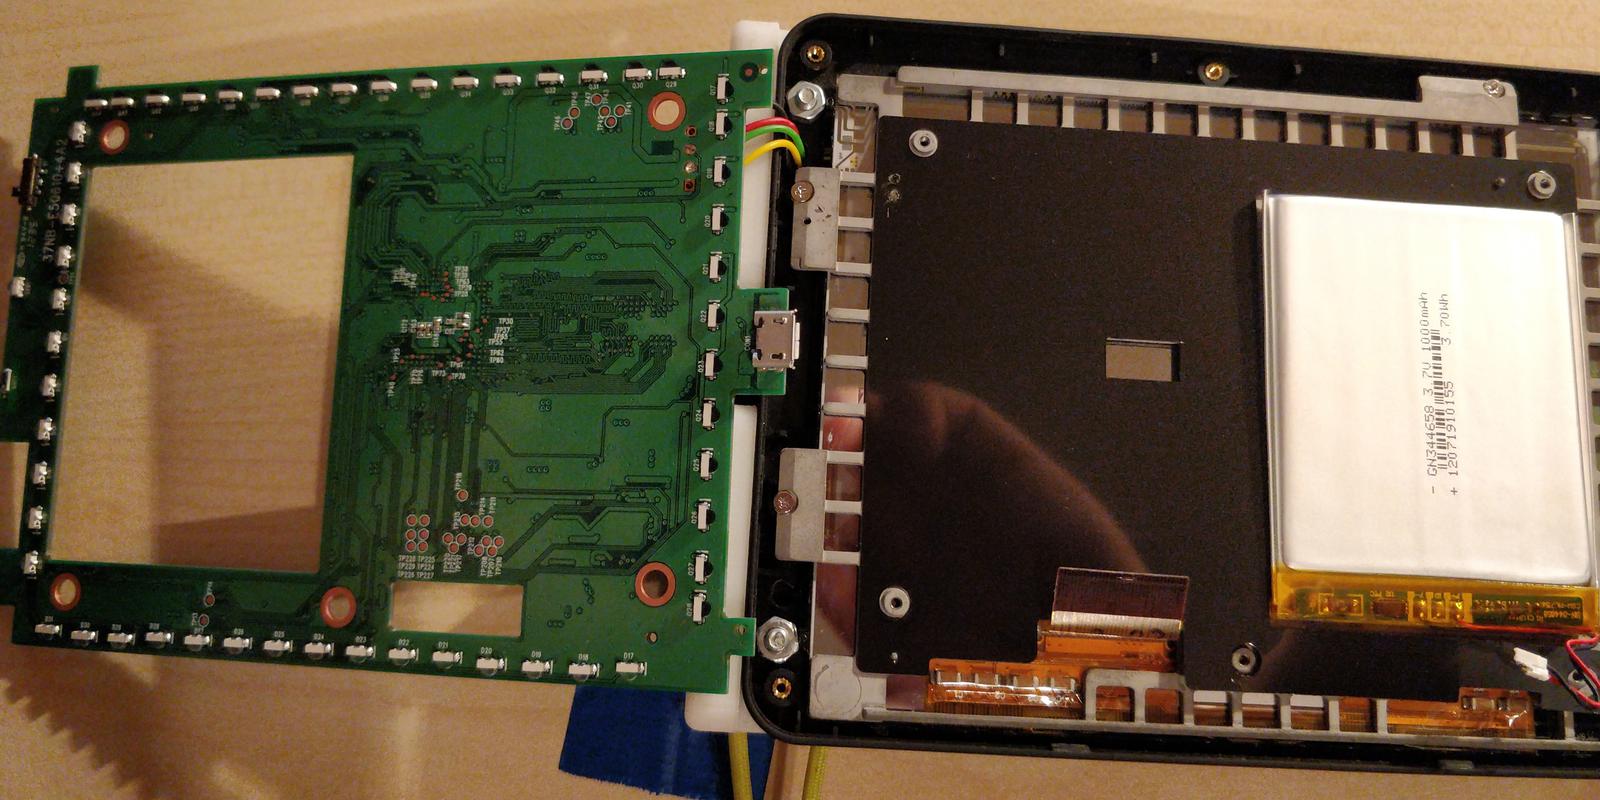
To replace the display, first remove the cover and unplug the battery connector. Then, unplug the display and unscrew the four screws holding the PCB. Move the board aside:
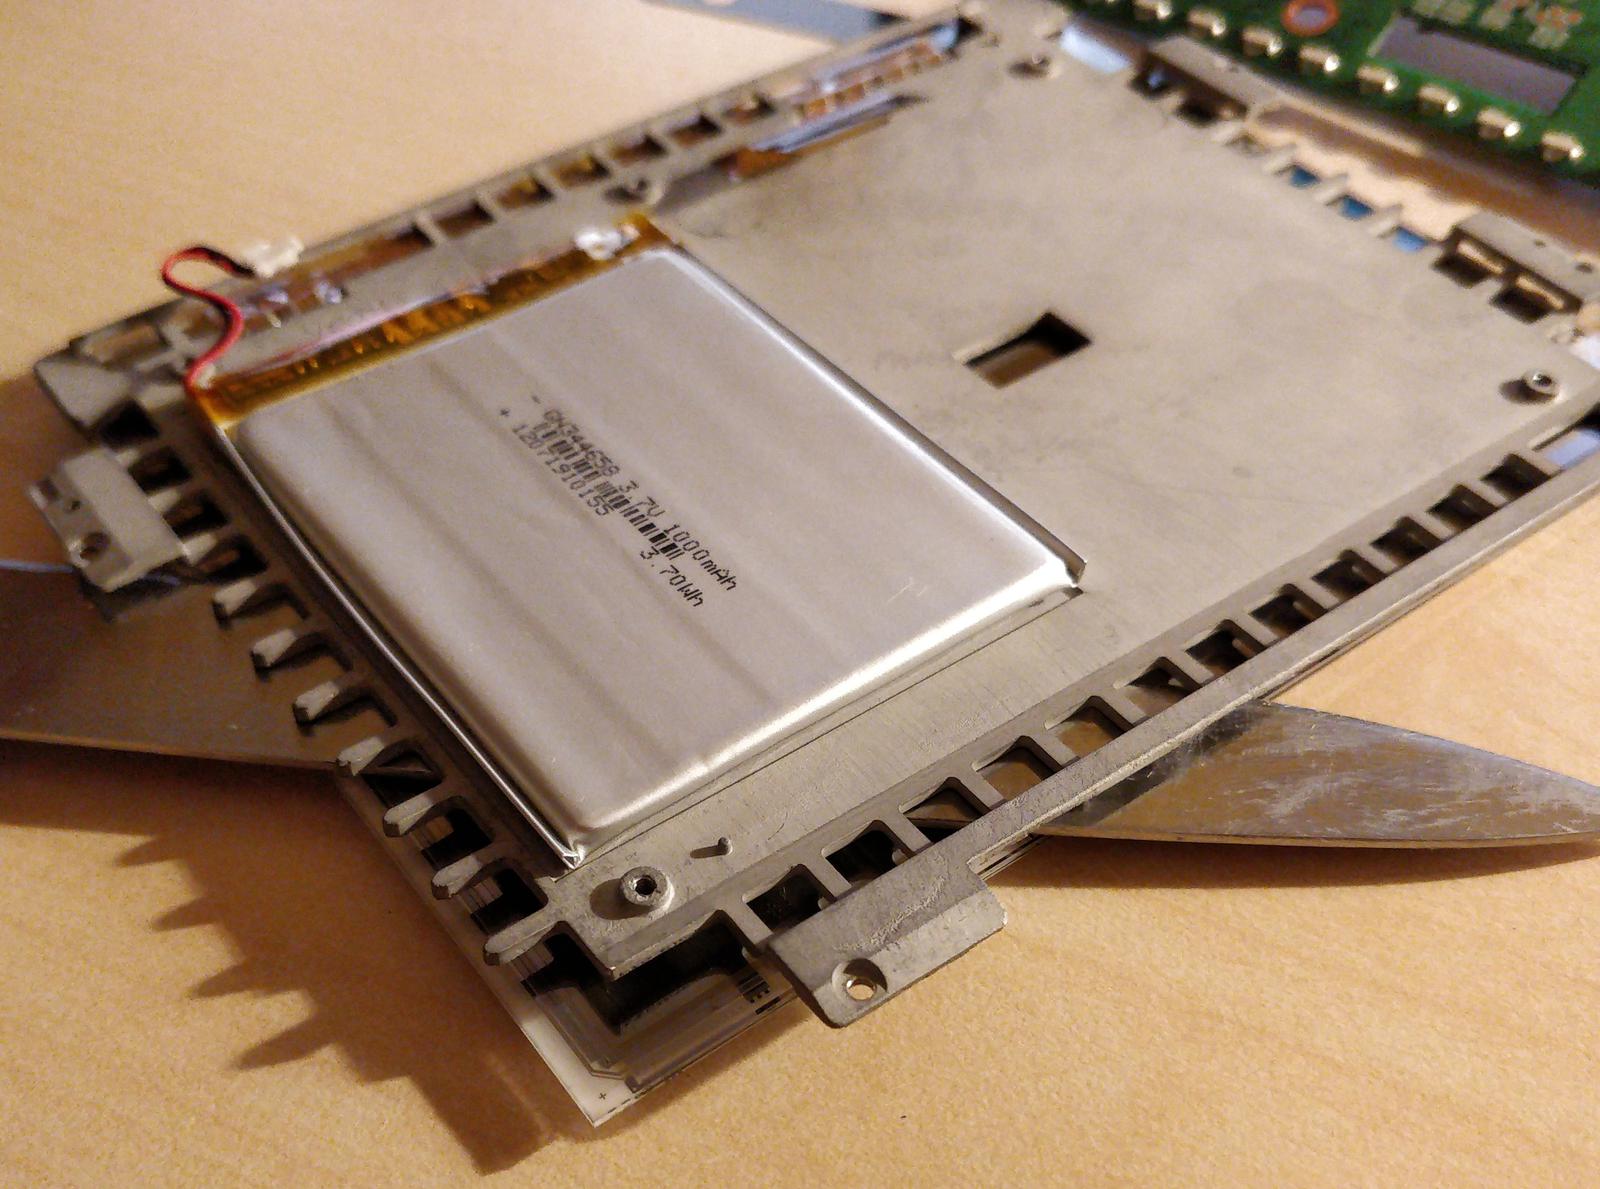
Next, unscrew the four screws joining the magnesium frame to the plastic bezel. Then, remove the frame with the display attached. The display is glued to the frame with two strips of double-sided tape. To separate them, use a kitchen knife and gently pry them apart, as shown in the photos.
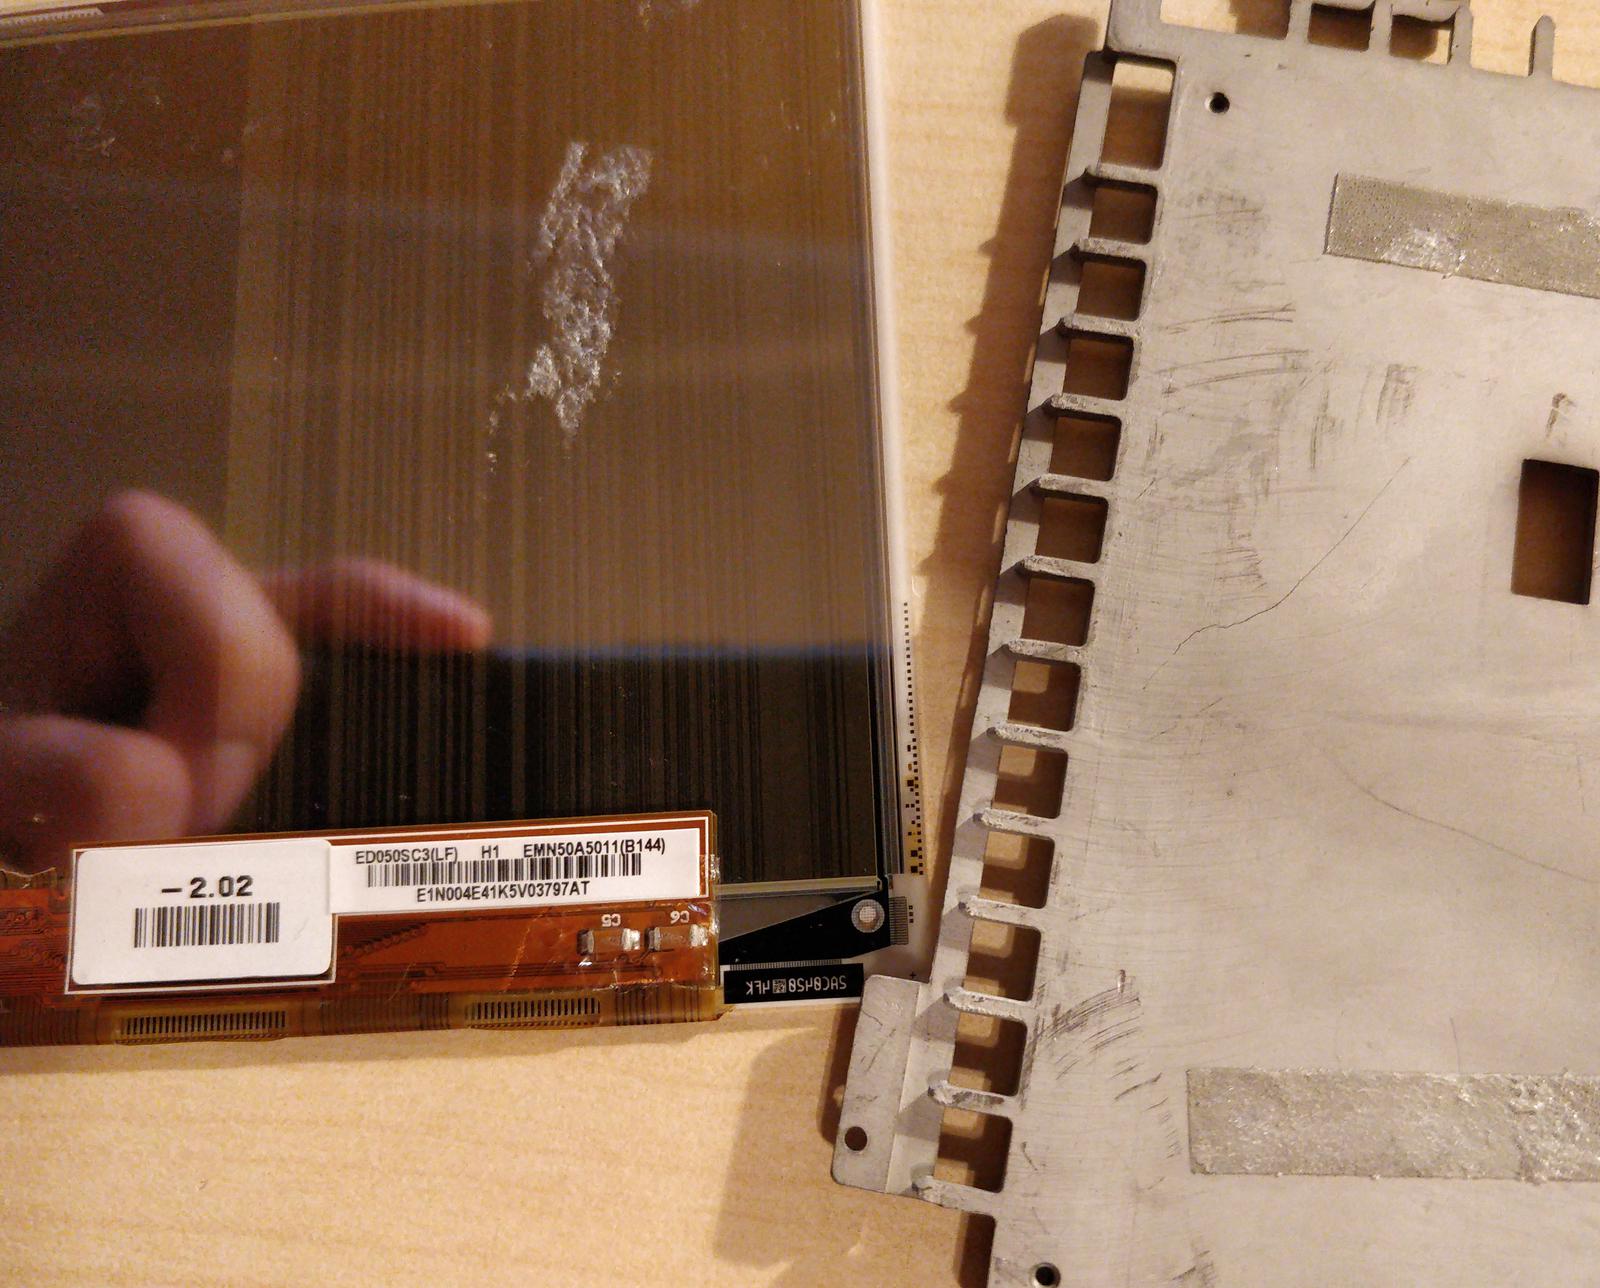

The original display had the following markings on it:
ED050SC3(LF) H1 EMN50A5011(B144)
E1N004E41K5V03797AT
The exact type of the original display is ED050SC3. I purchased a replacement on AliExpress for $15. The new display is protected
by transparent adhesive tape, so be sure to remove it before reassembling the Kobo.