Setting IP of APC UPS network management card
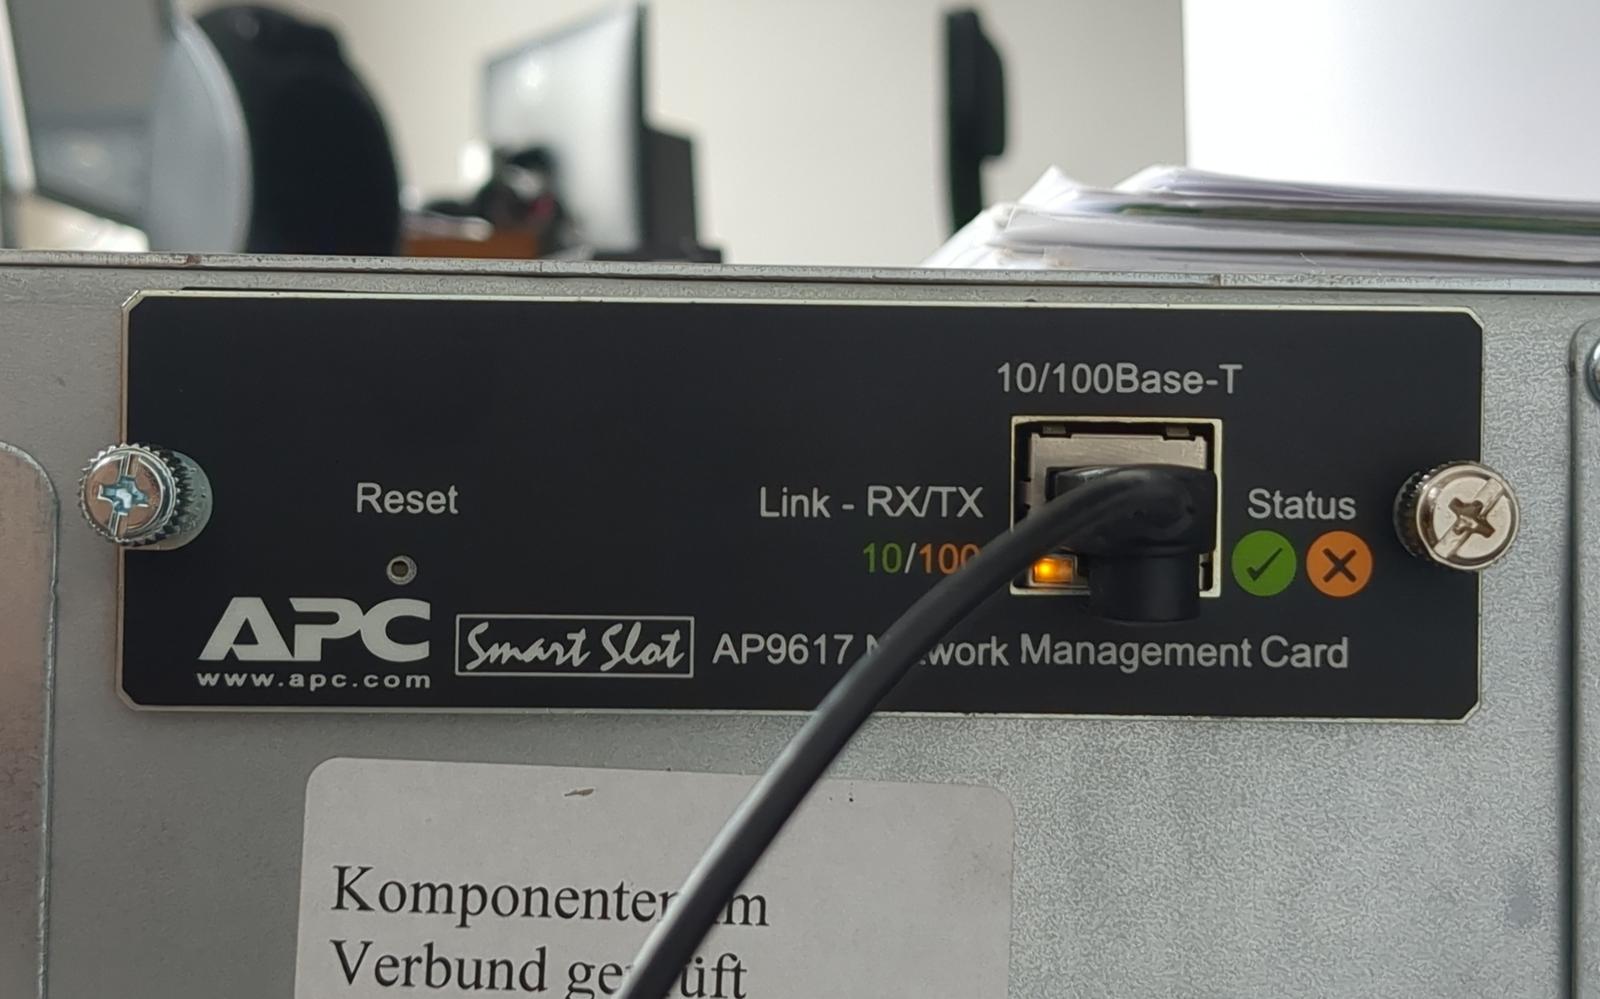
I was configuring a network management card for an APC Smart-UPS, similar to the one discussed in my other article. The management card under question was AP9617 (the user guide attached). However, I had trouble with factory resetting the card and changing its IP. I first tried holding the RESET button for about 15 seconds and pressing it again, but that didn’t work — as it turns out, this sequence is meant for newer NMC2/NMC3 cards (AP9630/AP9631, AP9640/AP9641, etc.). The AP9617 is an older NMC1 card, and a full configuration/factory reset via the RESET button doesn’t exist. On an NMC1 card, the button only resets the login credentials (a single momentary press, followed by a short restart) — an actual configuration or IP reset has to be done from within the console.
Quite unintuitively, it turns out one has to connect to the card via serial console to do it. But this card doesn’t have a serial connector! The unintuitive part is that one has to connect to it through the UPS. APC UPSes compatible with these cards have a serial console connector. If the card is present, the serial traffic is routed to the management card, not the UPS itself. The procedure is described on the Schneider Electric’s website, but I’ll write it here myself.
For APC’s Smart-UPS devices, one needs a dedicated serial cable. Despite using standard DE-9 connectors, this cable has non-standard pinout. Fortunately, it can be easily made following the instructions. The cable can then be connected to the serial-to-USB converter or directly to the serial port in the server, if one still has it onboard.
Cabling done, one should connect using a serial terminal emulator. One can leverage PuTTY or, in my case, picocom. The connection parameters are: 2400 baud, 8 data bits, no parity, 1 stop bit, no flow control (commonly abbreviated as 2400 8N1). The command:
picocom -b 2400 --databits 8 --parity n --stopbits 1 --flow n /dev/ttyS1
Now one should press ENTER several times, until the login prompt appears. Factory default, both login and password are
apc:
User Name :
User Name : apc
Password  : ***

American Power Conversion               Network Management Card AOS      v3.7.3
(c) Copyright 2009 All Rights Reserved  Smart-UPS & Matrix-UPS APP       v3.7.2
-------------------------------------------------------------------------------
Name      : Unknown                                   Date : 08/31/2026
Contact   : Unknown                                   Time : 17:09:05
Location  : Unknown                                   User : Administrator
Up Time   : 0 Days 0 Hours 1 Minute                   Stat : P+ N+ A+

Smart-UPS 2200 XL named MY_SRV : On Line, No Alarms Present

------- Control Console -------------------------------------------------------

     1- Device Manager
     2- Network
     3- System
     4- Logout

     <ESC>- Main Menu, <ENTER>- Refresh, <CTRL-L>- Event Log
> 2
From here on, things are straightforward. IP is to be configured under Network > TCP/IP. Note that the card’s Boot
Mode defaults to DHCP & BOOTP: unless it’s switched to Manual, any manually entered IP address gets overwritten on the
next reboot, since the card keeps trying to obtain its settings from a BOOTP/DHCP server. Once done, to exit picocom, press Ctrl-A
Ctrl-X.